部署sentry
准备工作
sentry服务,也可以自己搭建sentry服务,这里我选择自己搭建sentry服务。
需要准备一台服务器,配置4核16GB内存,20G磁盘空间。
安装docker和docker-compose,并配置镜像加速。自行百度吧
下载sentry
这里我选择的是sentry:latest版本,也可以选择指定版本
shell
git clone https://github.com/getsentry/self-hosted.git
cd sentry

vim sentry.conf.py

CSRF_TRUSTED_ORIGINS = ["https://sentry.xxx.com", "http://127.0.0.1:9000"]
./install.sh


docker-compose up -d
如果一切顺利就部署好了。
vue对接sentry
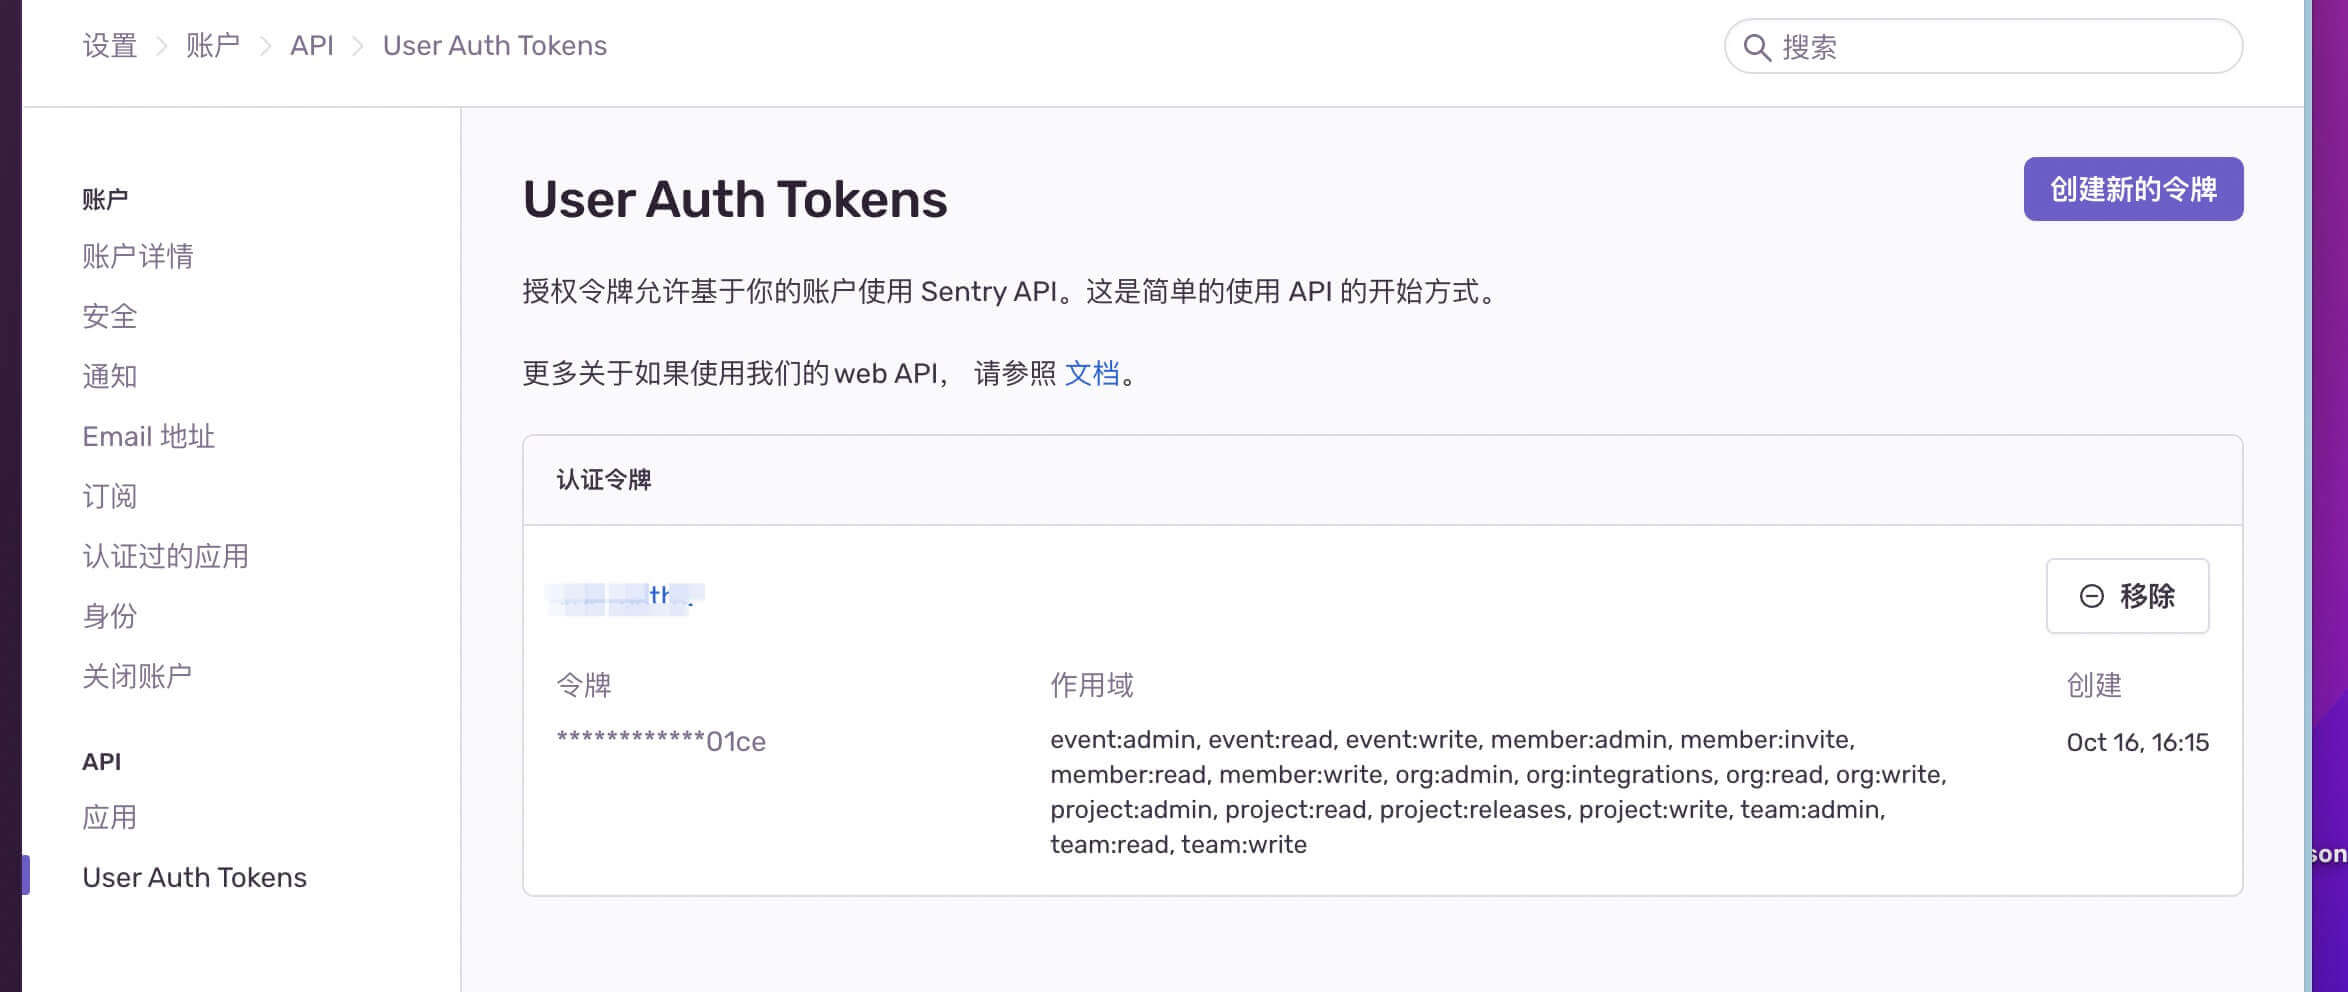
登录sentry,可以先把语言、时区切一下,然后创建一个项目,获取dsn,获取User Auth Tokens。
main.js
js
import * as Sentry from '@sentry/vue'
if (process.env.NODE_ENV !== 'development') {
  Sentry.init({
    app,
    dsn: 'https://[email protected]/2',
    integrations: [Sentry.browserTracingIntegration({ router }), Sentry.replayIntegration()],
    tracesSampleRate: 1.0, [window.location.origin],
    replaysSessionSampleRate: 0.1,
    replaysOnErrorSampleRate: 1.0
  })
}
vite.config.js
js
import { sentryVitePlugin } from '@sentry/vite-plugin'


sentryVitePlugin({
  url: 'https://domain.xxx.com/',
  org: 'xxx',//自己的org名
  project: 'project-name',//项目名
  authToken'',//User Auth Tokens
  sourcemaps: {
    assets: 'dist/static/j**',//根据自己的打包路径来配置
    ignore: ['node_modules'],
    filesToDeleteAfterUpload'.dist/static/**/*.map'//根据自己的打包路径来配置
  },
  release: {
    name: `sentry{packageJsonversion}` //随便起名字
  }
})
note: sourcemap: true,
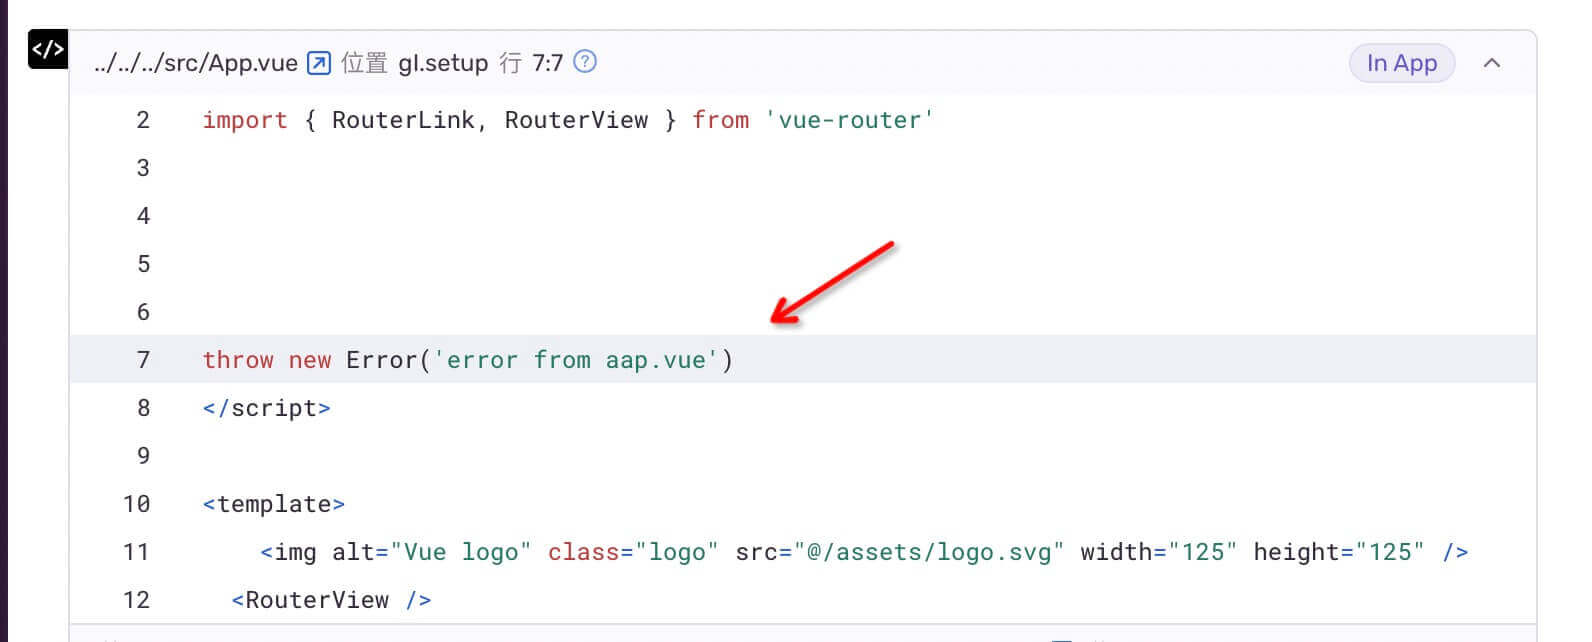
打包
shell
npm run build不出意外,项目有报错就可以看到错误信息了。自己可以故意报错去查看错误信息。如果没有映射到源码,检查sentry服务的镜像是否都启动成功了。